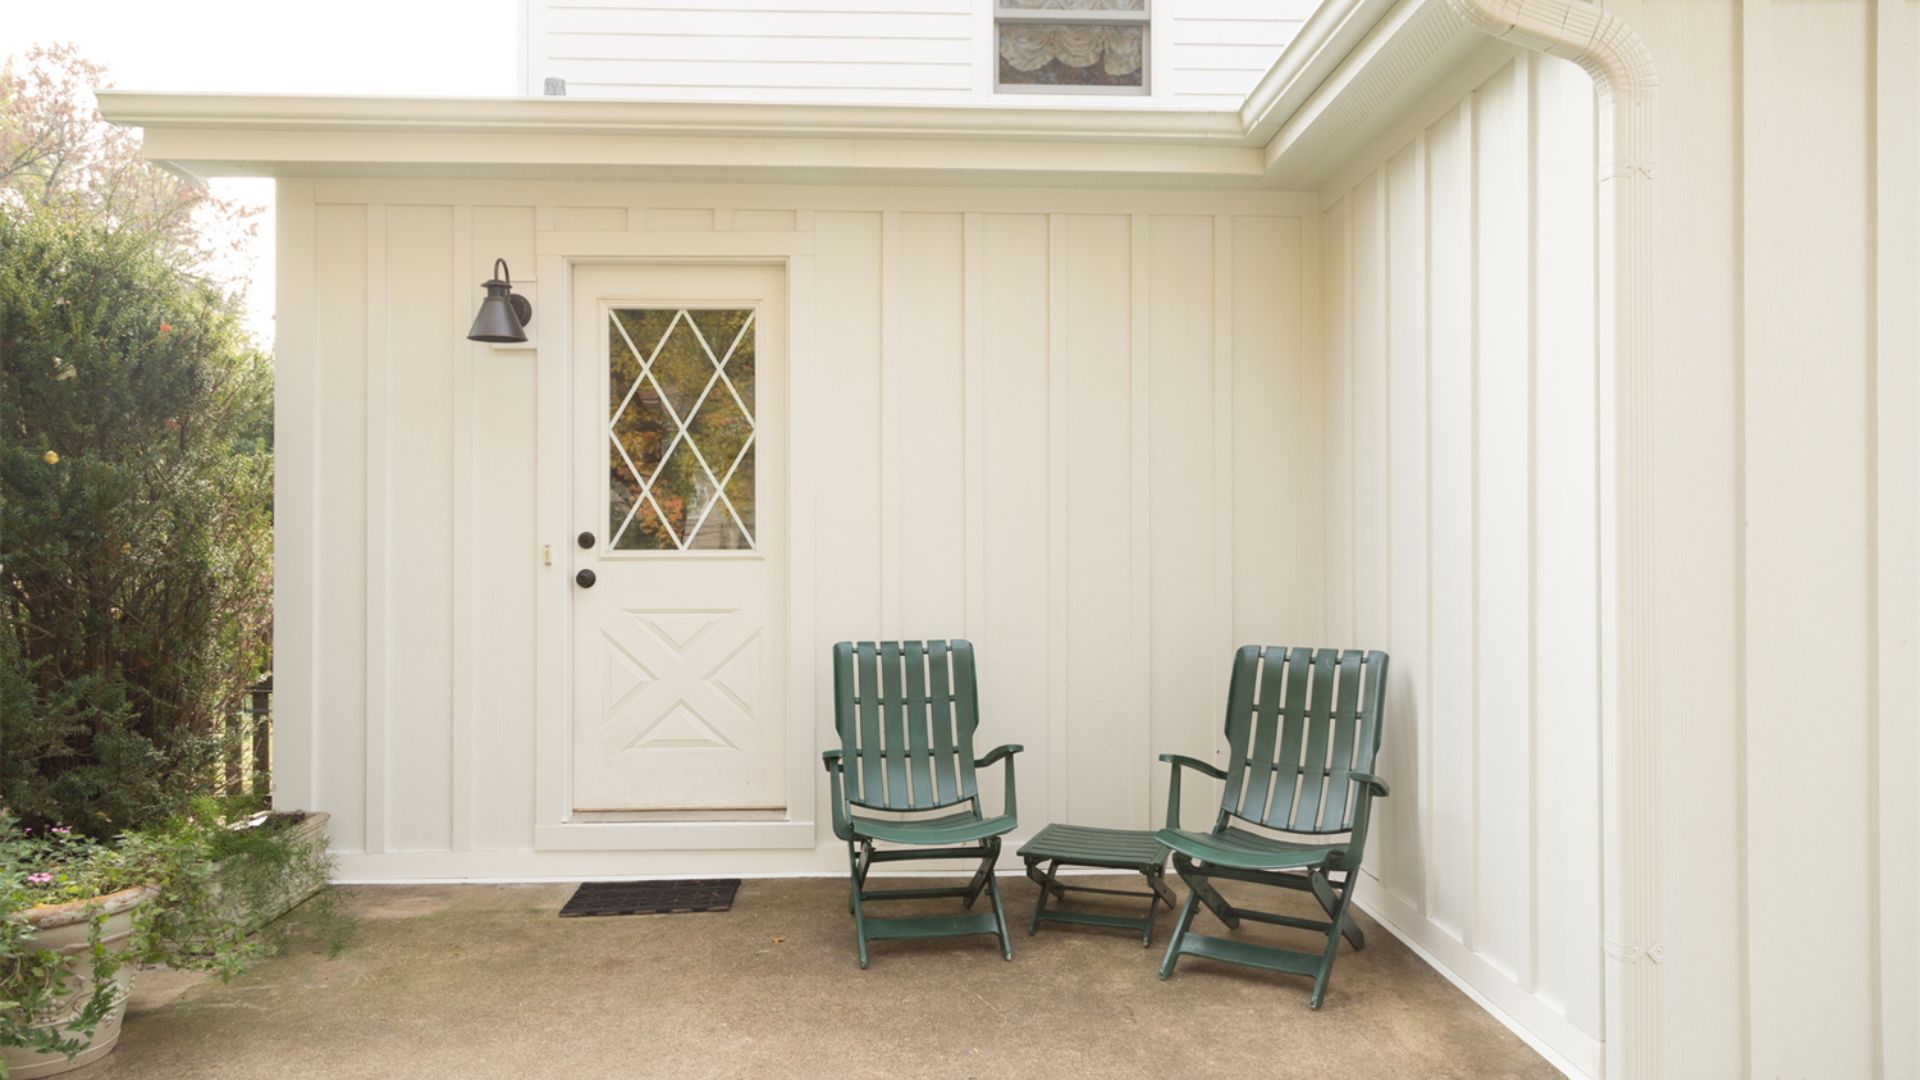
Choosing James Hardie fiber cement siding for your Kansas City area home is a smart move. Hardie siding has gorgeous charm, paired with lasting performance and superior resistance to pests, fire, snow, ice, and rain. It has one of the best warranties in the industry—a 30-year, non-prorated warranty you can transfer to those who own the home after you.
You’ll appreciate this top-rated material that over 8 million homeowners across the country have invested in—especially when you have an expert installation. Here’s what you can expect when pros specially trained in James Hardie techniques (like us!) handle your siding installation.
7 Steps for Having Your Hardie Siding Installed
Hardie siding and trim have unique traits—and you can expect to see that come to life as your attractive, durable new siding is set in place by your pro Hardie installers.
1. Meet for a Personalized Consultation
With so many beautiful styles and colors to choose from, Hardie siding could feel overwhelming—but it certainly doesn’t have to! Look for a team (like ours) that will listen to your goals and make sure you’ve arrived at a perfect fit with your Hardie siding design.
2. Materials Are Ordered and Delivered
Depending on the Hardie product types and colors you’ve chosen, an order will be placed for your siding and trim materials. Specialty ColorPlus shades as well as premium products take a little longer to arrive than the most popular colors of Hardie Plank, Shingle, and Trim options for our area.
3. Prep Work Begins
Before your new siding is set in place, some preparation must happen first. This includes removing and carting off your old exterior boards, caulking, and other materials, as well as making any repairs to the structure if there has been an issue like wood rot. Next, windows and doors are securely covered to protect them during the installation process.
4. House Wrap Is Laid Down
Once the surface of your home exterior is in shape for your installation, the next step is to set Hardie Weather Barrier in place. This non-woven, non-perforated house wrap creates an added layer of protection against moisture intrusion between your Hardie siding and your home’s structural walls.
5. Siding Is Measured and Cut to Fit Your Home
Your Hardie siding and trim will be carefully measured and cut so that your house gets a perfect fit with every board. And since Hardie products are stout and hefty (which helps them stand up to the weather!), a multi-person crew will be there to ensure the boards are set in place with precision.
6. Finishing Touches Are Added
To seal everything so that it is watertight and polished in appearance, your installation team will place Hardie Trim everywhere it needs to go. Caulk will also be applied to provide a strong seal against moisture. If you chose pre-primed boards instead of factory-applied ColorPlus hues, your siding and trim will be painted once installation is finished.
7. Clean Up Is Completed
Finally, your installers will inspect every inch of your Hardie siding—including fasteners, trim, edges, flashing, and caulking—to make sure it’s done right. Any remaining leftover materials will be discarded or carted off. Magnetic rollers will be used around your home’s perimeter to pick up any stray nails laying around—so you won’t have to worry about cleaning up after us.
Transform Your Home with Long-Lasting Hardie Siding
Why not say goodbye to costly, high-maintenance exterior siding for good? James Hardie offers the perfect siding solution to withstand Kansas City’s demanding weather conditions—with matching beauty and style you’ll love seeing on your home for years to come.
As a James Hardie Elite Preferred Contractor, our team has been vetted by the manufacturer, and is well trained—and we will give you precisely installed siding that results in peace of mind you’re getting everything your siding should offer. Check out what you’ll get from choosing Hardie siding—installed by the pros at Smart Exteriors!

